How to Schedule Patient-Doctor Appointments via Booking for Gravity Forms?
-
Saad Iqbal
- July 6, 2022

Quality of life and health factors are considered the sole ingredients of living a happy and pleasant life. Whenever patients choose a healthcare facility, flexible and convenient patient exposure has also become essential. Patient-doctor appointment scheduling is classified as one of the essential patient-doctor management and satisfaction practices. The recent advent of the COVID ’19 pandemic has transformed customer choices and preferences, resulting in patients looking for a safe, secure, and effective method to book appointments and vice versa.
Today, online appointment systems have set new standards for scheduling and managing patient-doctor appointments that improve convenience for both patients and service providers. According to the reports, the implications of AI are heading towards online booking solutions that help users recognize patients with complex needs and determine their scheduling preferences.
Further, it automatically schedules or recommends the most accurate date and time, location, and provider. Hence, optimizing schedules can also be set up for patients to consult with the physician on the same day. It saves time for both the patient and the doctor to schedule further appointments and vice versa. So, in the rest of this article, we’ll talk about Booking for Gravity Forms, meetings that get things done, and the appointment scheduling plugin.
What is Booking for Gravity Forms?
Bookings for Gravity Forms is a powerful and robust online appointment and booking plugin used to schedule and manage all online appointments and schedules within Gravity Forms. Gravity Bookings uses Google Calendar for businesses that heavily rely on appointment operations. It is a premium WordPress plugin to facilitate file-type clients who want to simplify their online bookings and appointment functions with WordPress features.
In particular, it simplifies the online registration process. It is ideal for event directors and entrepreneurs seeking a simple and intuitive way to place multiple orders for customers and attendees. Furthermore, it can be combined with smart uploads, i.e., dates, business, and events.
How to Install and Setup Bookings for Gravity Forms?
The quickest way to get started with the Gravity Bookings plugin is to install and set up the plugin. Follow the steps below to install and setup the Bookings for Gravity Forms plugin:
Step # 1
Go to the Gravity Forms website.
Step # 2
Login to your Account and Move to the Download Section.
Step # 3
Download the Gravity Forms Plugin.
Step # 4
Go to the WordPress Admin Panel > Plugins > Add New.
Step # 5
Upload and Activate the Booking for Gravity Forms Plugin.
Step # 6
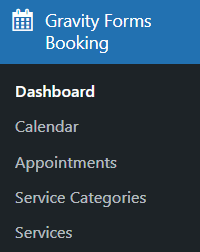
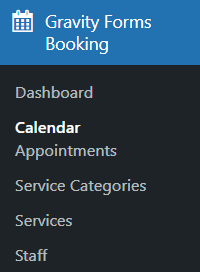
After successfully installing and activating the plugin > Go to WordPress Admin Dashboard > Gravity Forms Booking.
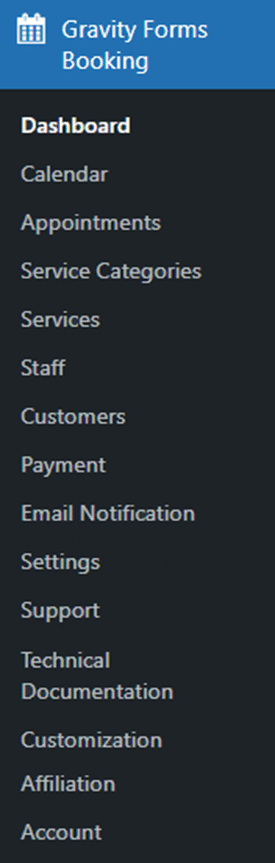
Managing Dashboard
Step # 1
- The dashboard visualizes an overview of appointments and relevant details.
- Go to the WordPress Admin Dashboard > Click on Gravity Forms Booking > Click on Dashboard.
Step # 2:
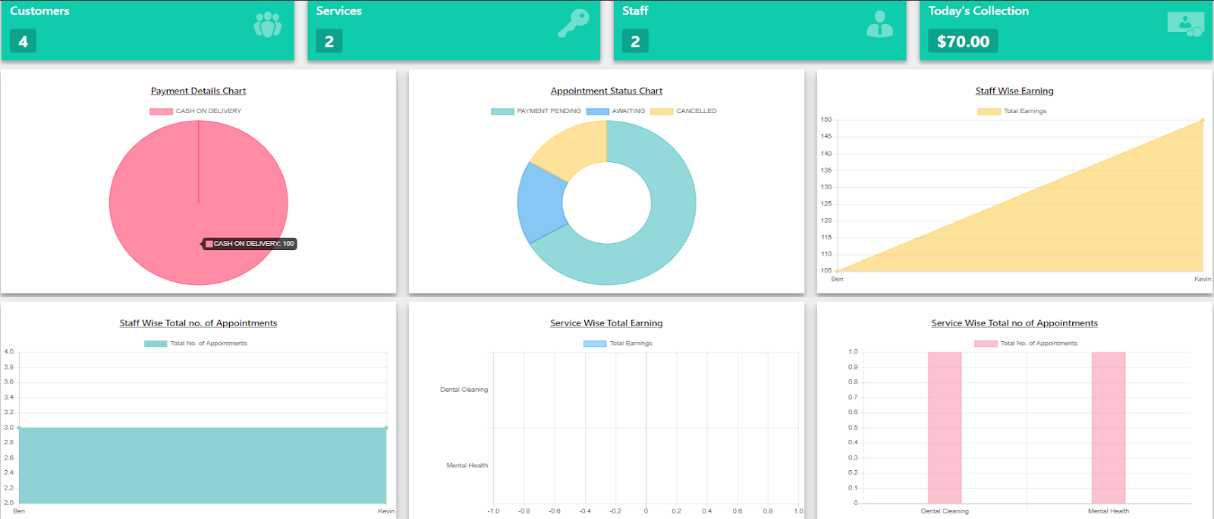
- The total number of customers, available services, staff, and income received per day are highlighted in the chart below.
- Payment information: A pie chart depicts cash on delivery collections.
- The appointment status chart highlights pending payments, awaited payments, canceled appointments, and visited appointments.
- highlights staff-wise earnings that are earned by the staff most and least.
- Staff wise, the total number of appointments displays which staff get higher appointments.
- Service-wise, total earnings highlight which service is earned the most.
- Total appointments available by servicedisplay which service gets the highest number of appointments.
Managing Calendar
Step # 1
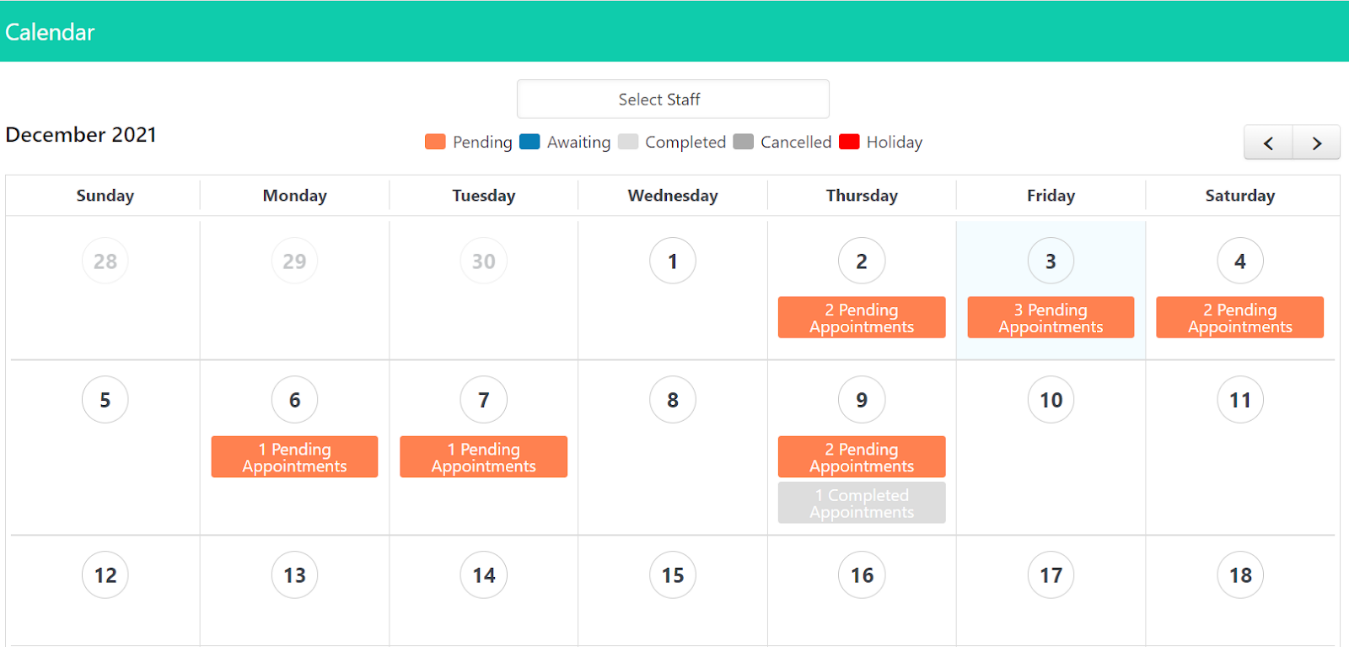
- Admin can view all the booked appointments in the calendar section in Gravity Forms Bookings.
- Go to WordPress Admin Dashboard > Click on Gravity Forms Booking > Click on Calendar.
Step # 2
- Admin can choose a staff member to check their availability and appointments.
- Click on Select Staff and select your preferred staff member from the drop-down menu.

Step # 3
- You can click on any event, and it shows all the details of that particular appointment.
Managing Appointments
Step # 1
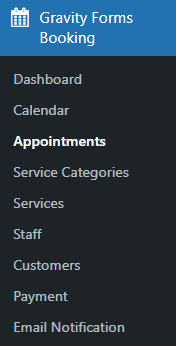
If you want to check appointments, Go to WordPress Admin Dashboard > Click on Gravity Forms Booking > Click on Appointments.
Step # 2
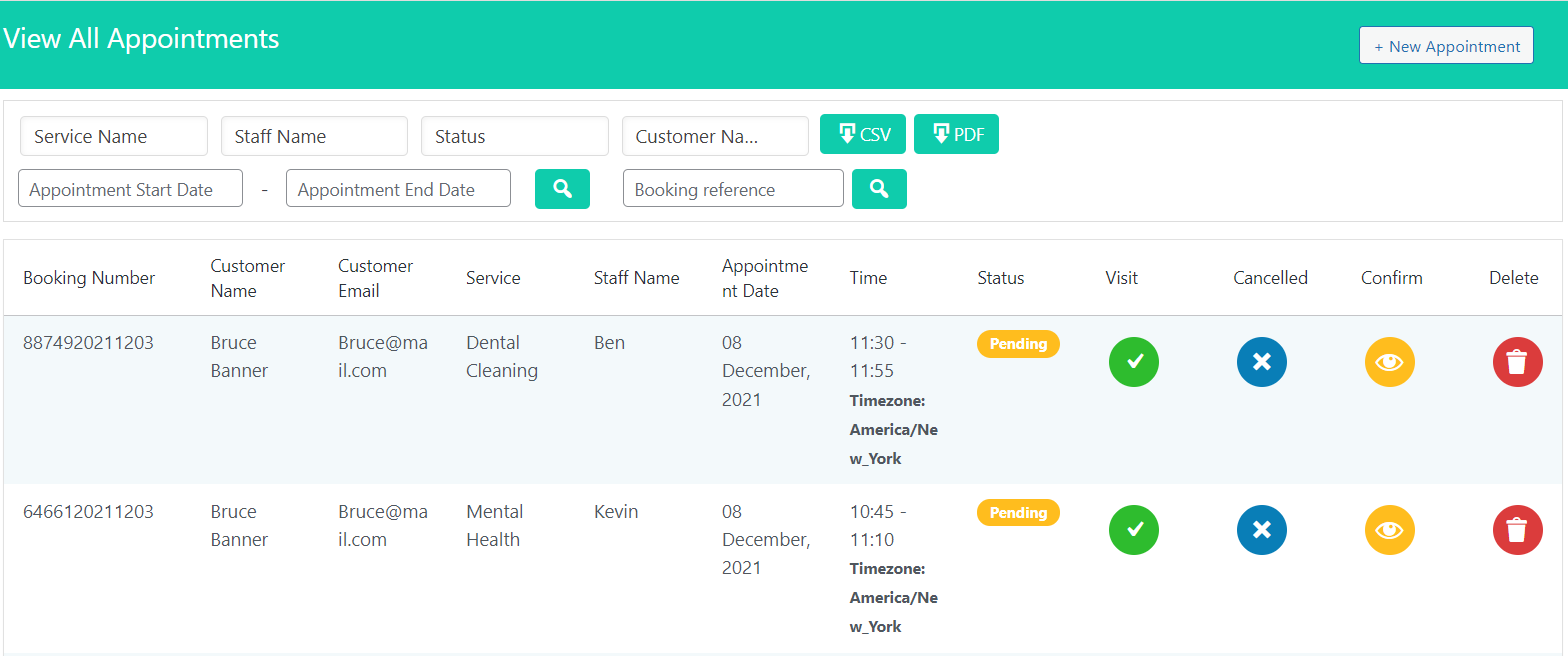
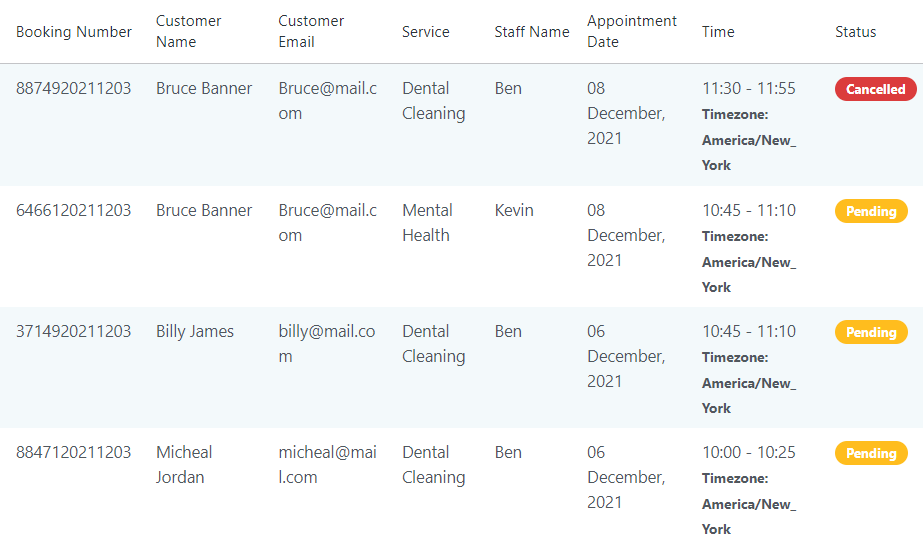
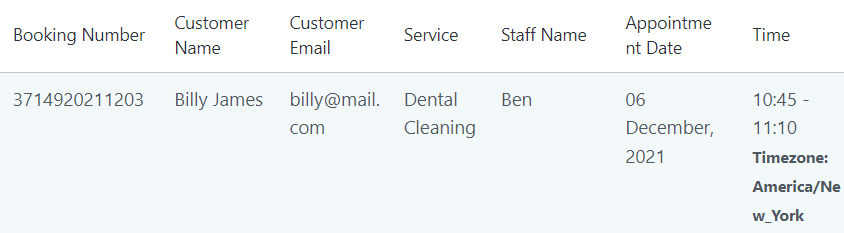
- The admin can view all the appointments, details, and status in the Appointments section.
- Also, time zones are highlighted in the time column.
Step # 3
- The admin has to perform multiple actions to change the appointment status.
- As awaited, click on the confirm button to change the status.

Step # 4
- Click on the Visit button to change the status to visited.

Step # 5
- Click on the Canceled button to change the status to canceled.


Search Appointments
Admin can find appointments via the following options:
Step # 1
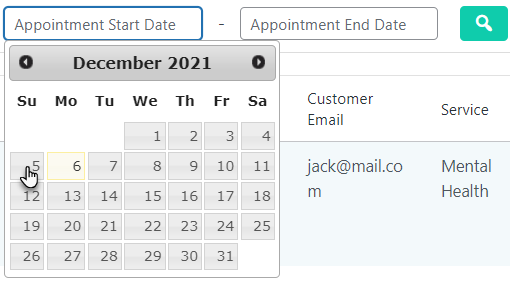
- Appointments can be easily searched from the Appointment Start Data to Appointment End Date.
- Click on Appointment Start Date > Select Date from the calendar > Search Appointments in Appointment Start Date.
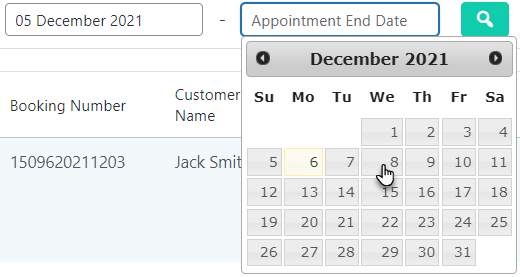
- Click on the Appointment End Date > Select the end date > Search Appointments in Appointment End Date.
Step # 2
- Click on the Search Button to get the appointments.
Step # 3
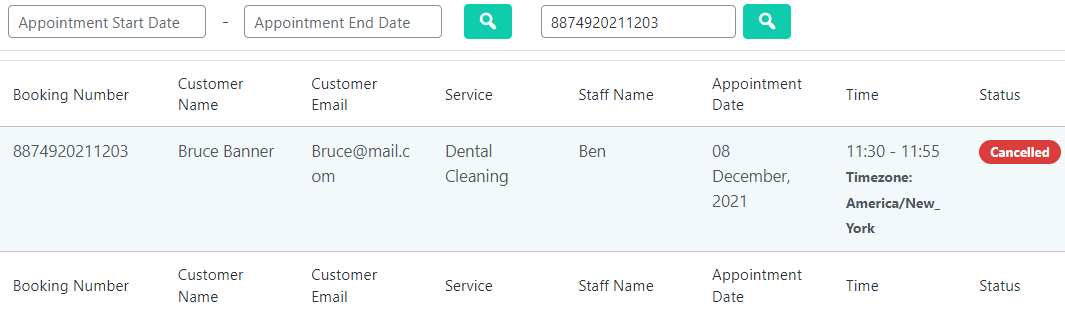
- Admin can search for the appointments via the Booking Reference.
- Enter the Booking number of the appointment in the Booking Reference.
- Click on the Search Button.
Step # 4
- Also, the admin can search for appointments via Service Name, Staff Name, Status, and Customer Name.
![]()
Step # 5
- Click on the Service Name, and choose a service from the drop-down menu list to select the overall service appointments.
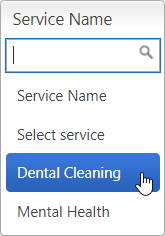
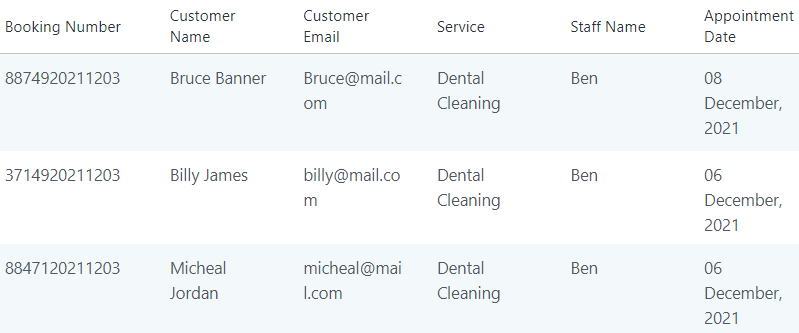
Step # 6
The entire appointment of the selected services will be highlighted in the appointment table.
Step # 7
Click on the Staff Name and select the staff member from the drop-down menu to select all the staff member’s appointments.
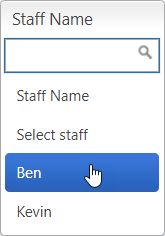
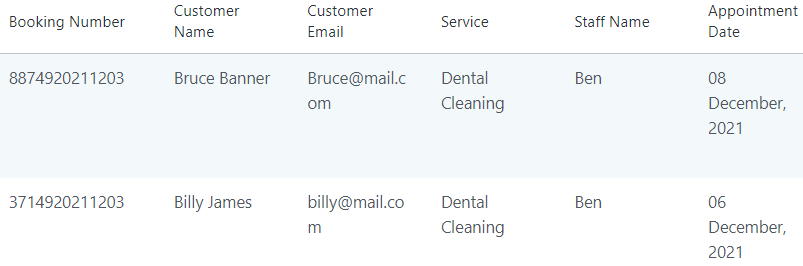
Step # 8
The overall appointments of the selected staff member will be showcased on the appointment table.
Step # 9
Click on the status > Select the status from the drop-down menu > Select appointments of the selected status.
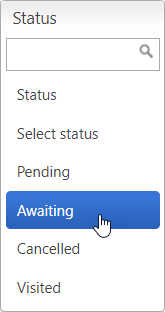
Step # 10
All the appointments of the selected status will be displayed in the appointment table.

Step # 11
Now, click on the Customer Name > Select the customer name from the drop-down menu > Select the overall appointments of the selected customer.
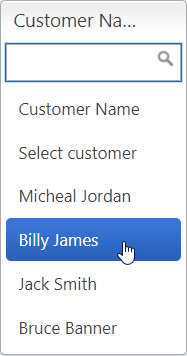
Step # 12
The overall appointments of the selected customer will be highlighted on the appointment table.
Final Verdict
Indeed, scheduling patient-doctor appointments effectively requires a combination of modern technologies and common sense processes. By merging the two, you’ll set yourself up to handle multiple volumes that you once thought impossible. So, Booking for Gravity Forms gives people in different industries, such as travel, dentistry, hospitality, and healthcare, several ways to set up appointments and meetings. To know more about gravity forms appointment booking, Read the technical documentation here.
