How to Make a WordPress Booking Form (A Brief Guide)
-
Abdul Basit
- September 20, 2023

Are you searching for a WordPress appointment plugin that allows clients to easily schedule appointments online through a booking form? In today’s digital era, enabling online appointment booking is crucial for your business.
This blog guide will demonstrate how to design a straightforward online appointment booking form in WordPress using a plugin.
How to Use Bookings for Gravity Forms For Creating Booking Forms
Being a leading form builder globally, Gravity Forms offers numerous features and capabilities. And to streamline your online business operations, you can add Bookings for Gravity to harness the true potential of WordPress. This includes the capacity to design an appointment booking form or any other reservation form.
Below is a detailed, step-by-step guide to configuring your appointment booking form using Booking for Gravity Forms.
1st Step: Install and Activate Booking Form Plugin
Log in to your WordPress Admin Panel.
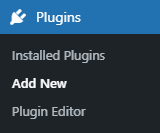
Navigate to the WordPress Admin Dashboard → Plugins → Add New.
Click on the Upload Plugin button on the top left corner of your screen.
Next, click the Choose File button in the box below.
Select the zip file that you have downloaded and upload it.
Click on the Activate Plugin button.
Now you are on the Dashboard. You can view reports here
2nd Step: Create a WordPress Book Form
Now you need to create a booking form using. Here, Gravity Forms will help as it offers 600+ templates. Follow the following steps:
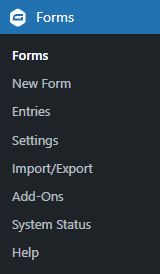
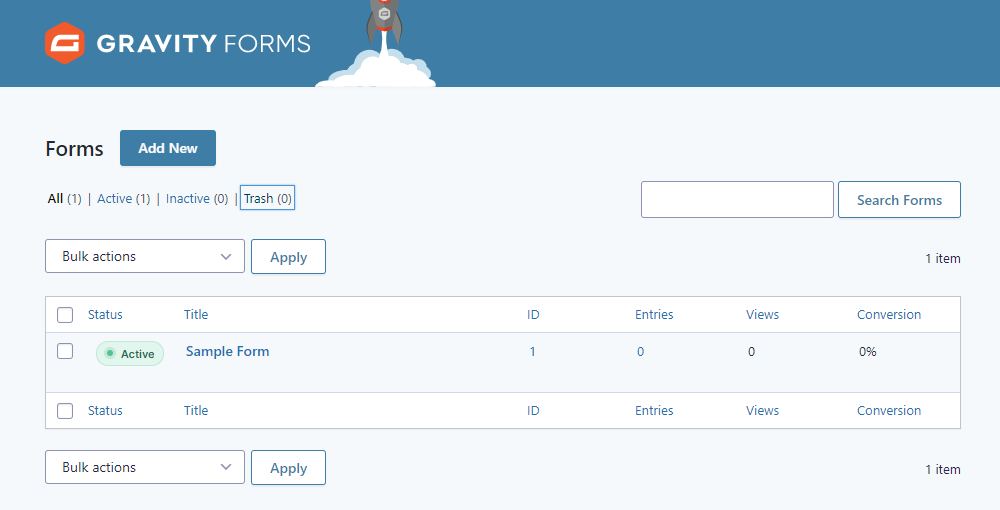
Navigate to WordPress Admin Dashboard → Forms.
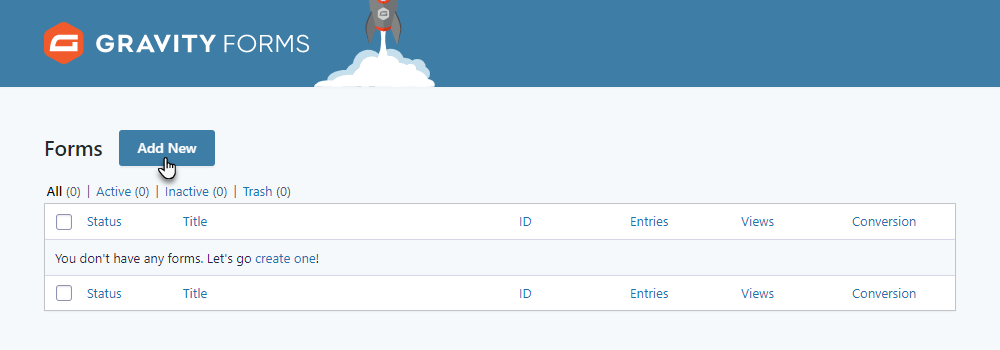
Now you are on the Forms page. Click “Add New” to get a fresh WordPress booking form.
Explore the available templates given:
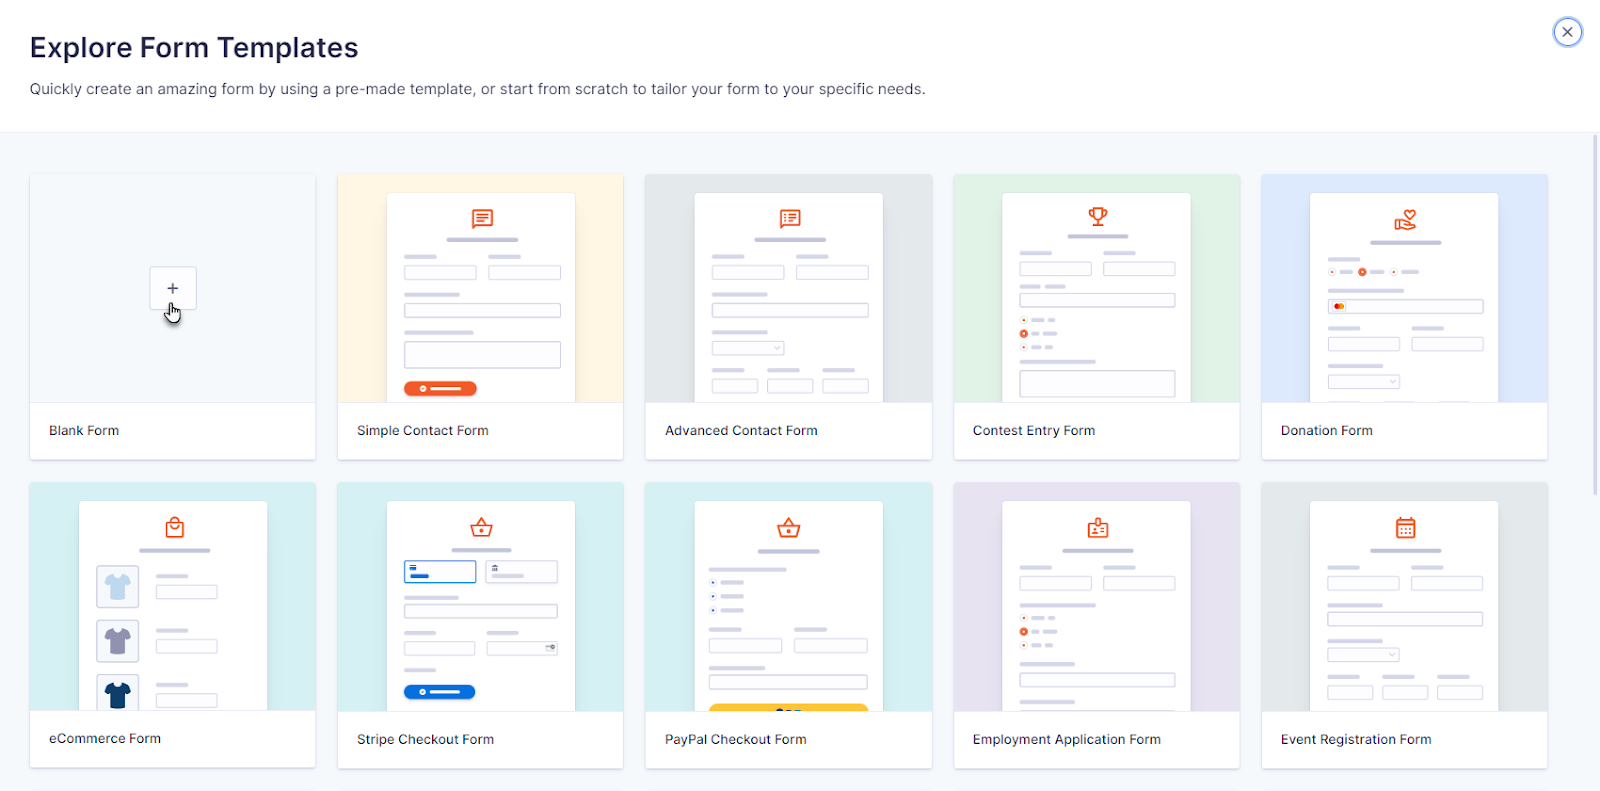
3rd Step: Setup the Booking Form
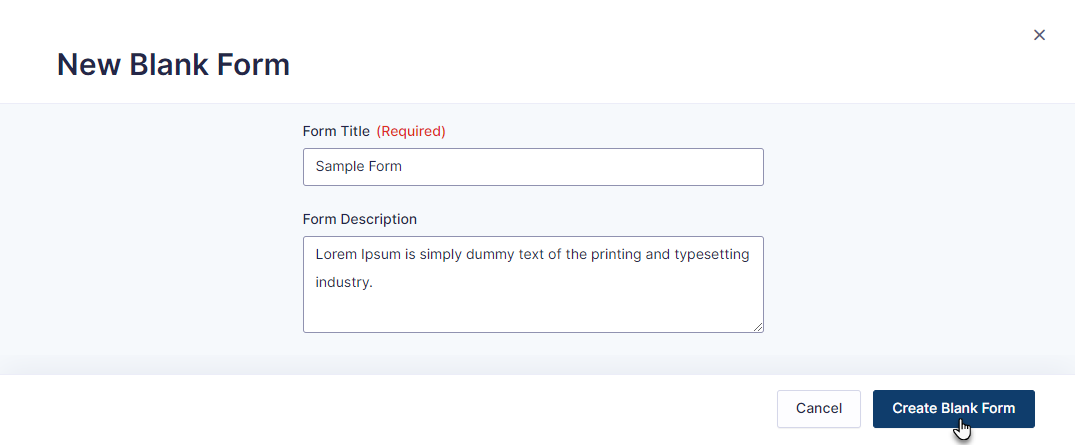
First, choose the blank form to create an appointment form booking from scratch. Enter the Form Title and the Form Description. Once done, click on the Create Blank Form button.
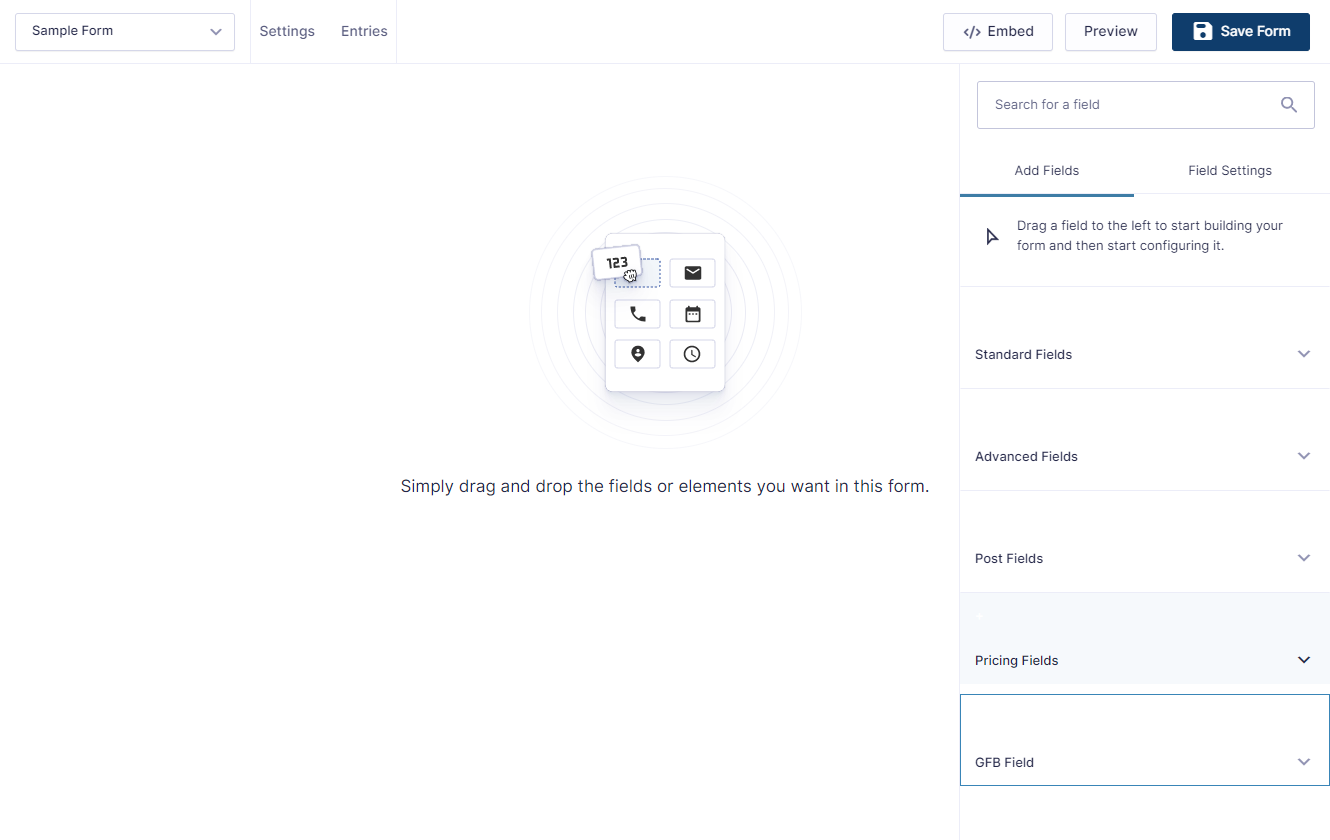
Now, start editing the form using the “GFB Field” button on the bottom right of the screen.
Drag & drop the GFB Calendar field and edit the calendar on the form as required.
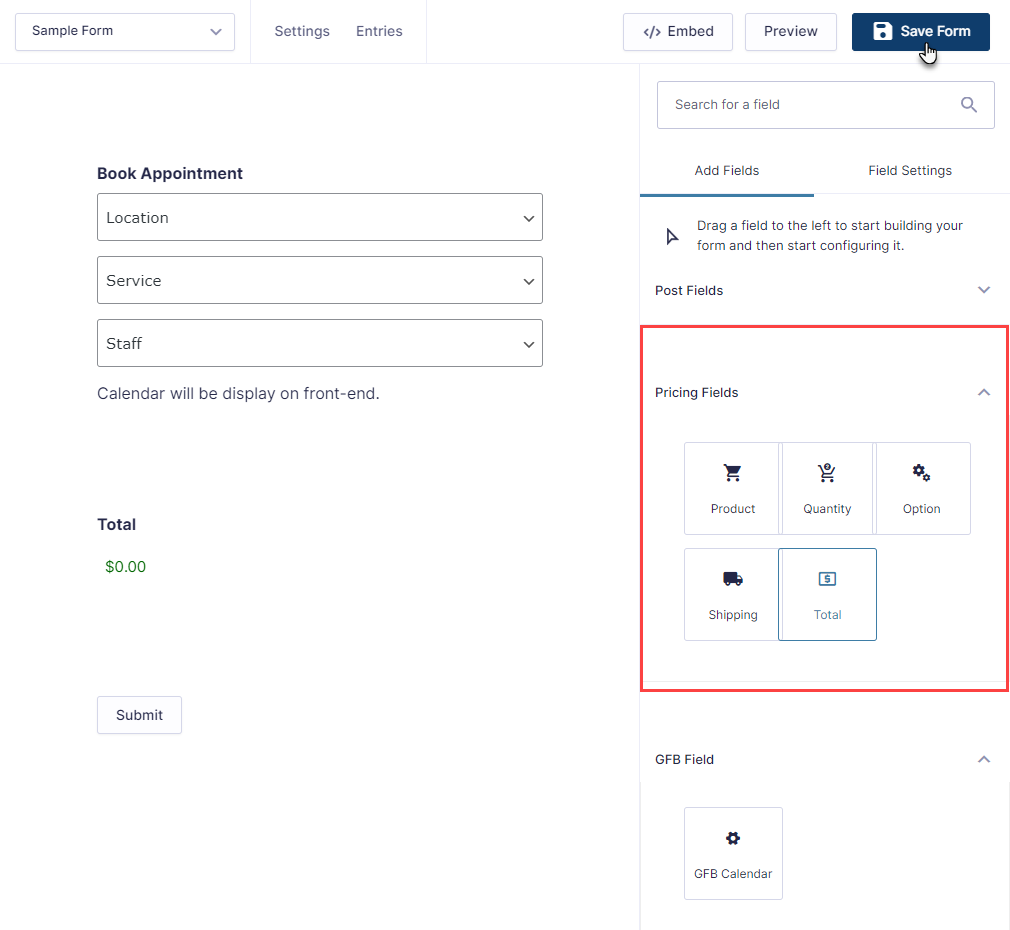
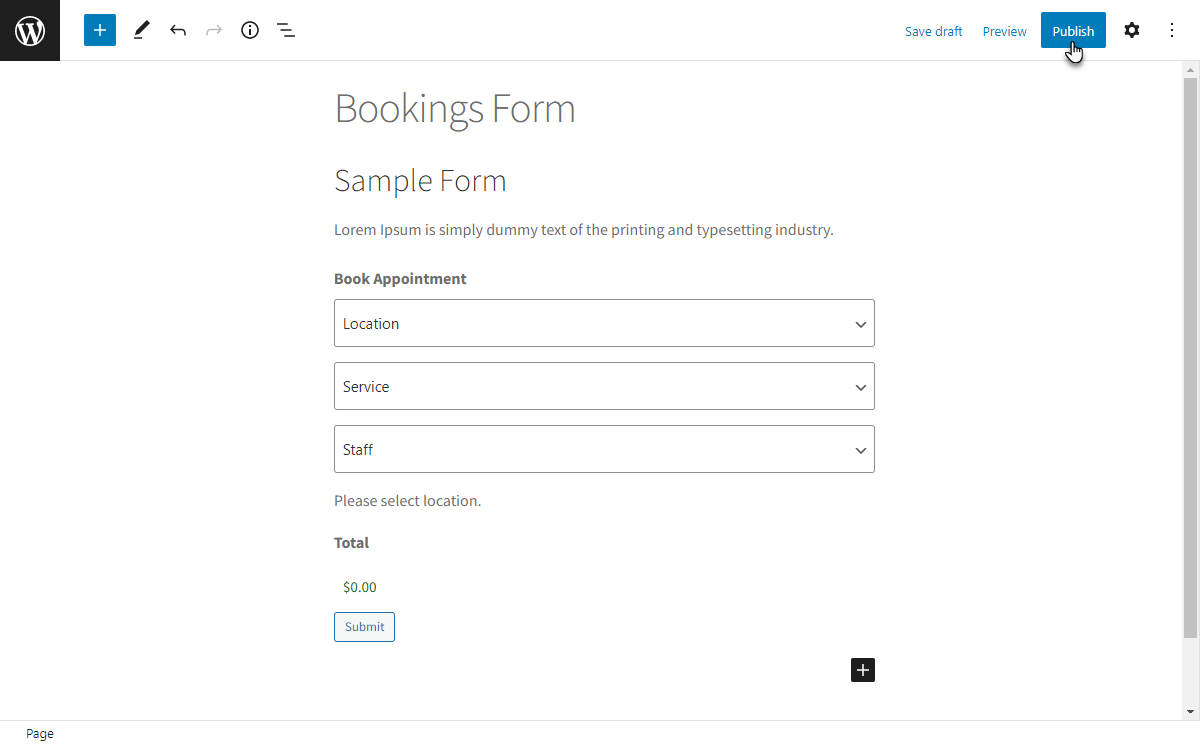
Here, you can set three basic fields for Booking for Gravity Forms, i.e., Location, Service, and Staff. These fields are enough to set up a booking form to create any appointment form. Add the “Total” field to ensure you embed the pricing option.
4th Step: Configuring and Publishing Booking Form
Navigate back to the admin dashboard → Forms.
Here, you will see the form appearing on the Forms page.
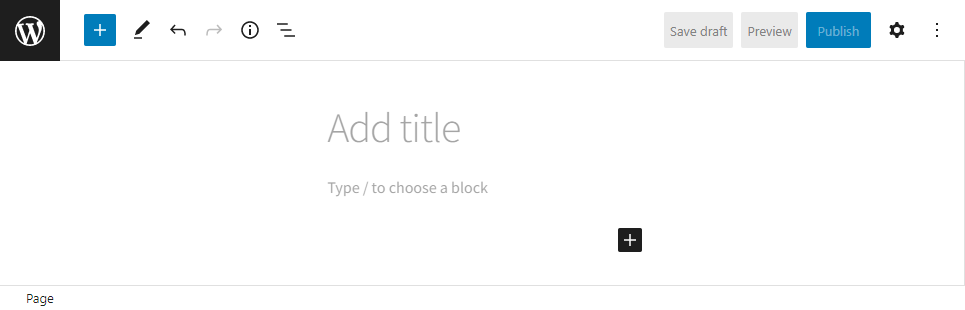
Add a new page using the WordPress admin panel and give your booking form a title.
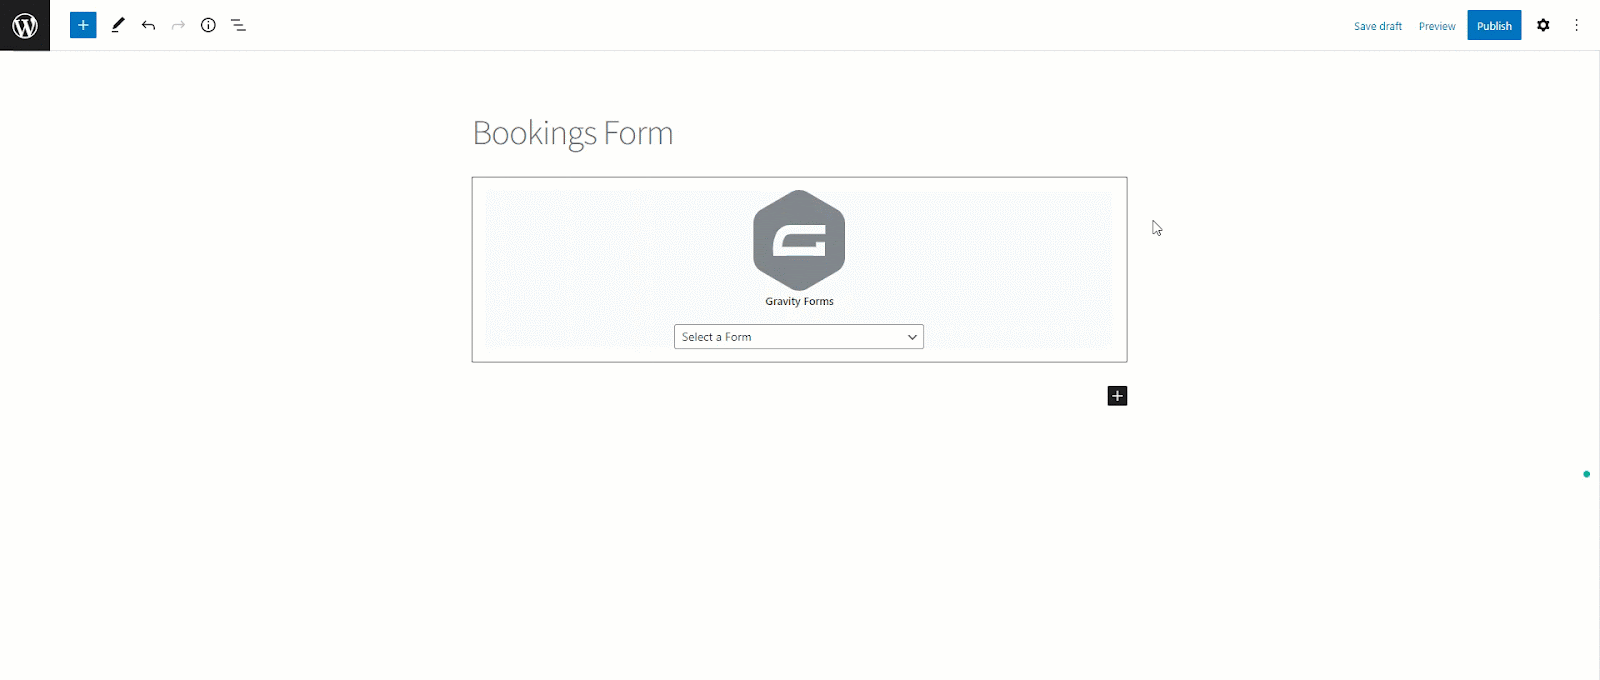
Click on the sign “+” to add blocks and select the Gravity Forms element.

Now, pick the form using the dropdown menu.
Click the “Publish” button when done.
Wrap Up
And that concludes our guide! You must have learned how to install and enable an online appointment booking form and craft a WordPress booking form within WordPress. Ready to take action? Begin your journey with today’s efficient and features-rich Booking for Gravity Forms addon.
Abdul Basit
Abdul Basit is a contributor at Gravity Booking. He is an avid blogging enthusiast who has ambitions to make his name as a specialist content marketer. In his leisure time he reads about emerging technologies and digital marketing.
